FAQ

How to design a carcass with mitre joints?

In SmartWOP you can only have mitre joints on Frontal and Diagonal Panels.

How to design a carcass using those panels?

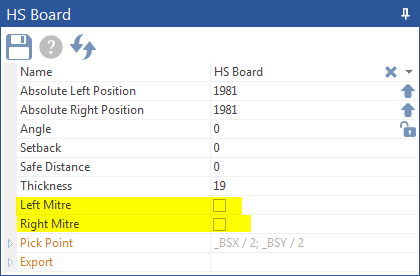
Select a Diagonal Panel instead of a horizontal Panel, but arrange it horizontally. Click on that panel and tick Left Mitre and/or Right Mitre.
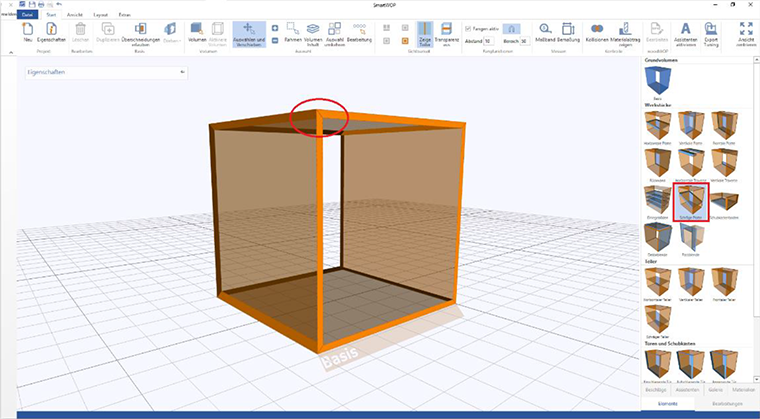
Now you can see the mitres being displayed. No adjustment of the vertical Panels is necessary.
Adding mitres to the frontal Panels is following the same path. Click on the panel and tick the mitre boxes.
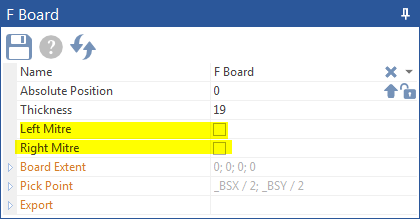
Once you are done, the mitre will be displayed accordingly!
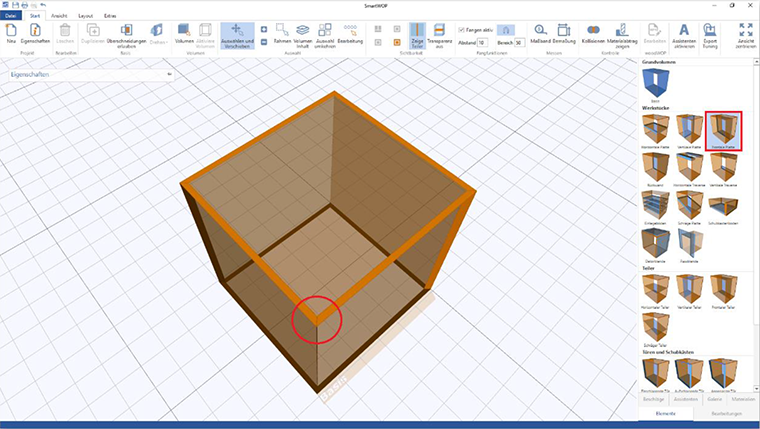
How to use an overlay door as a rigid panel with dowels?

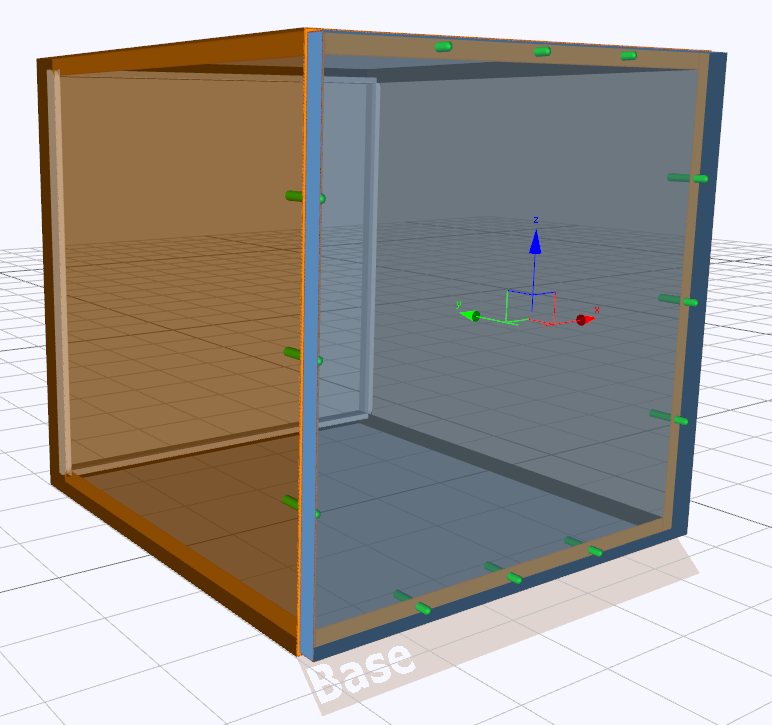
First, create your own design without a door.

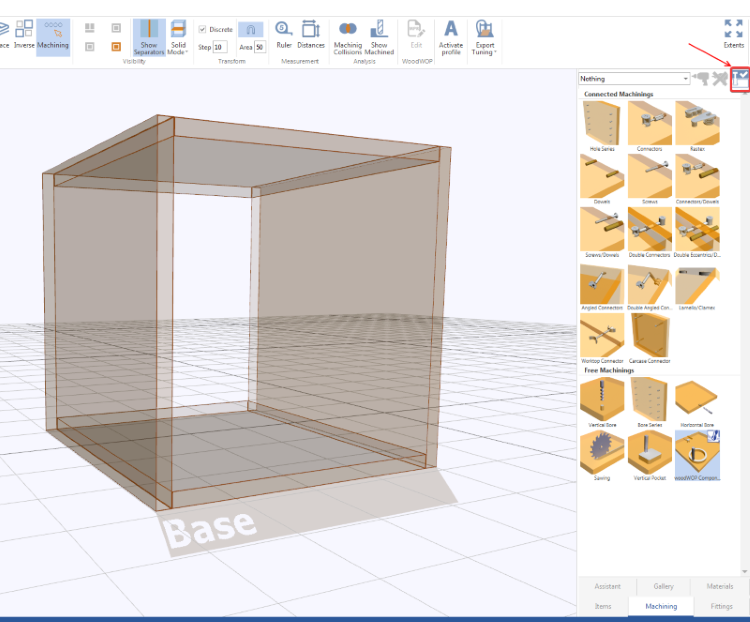
Before you can attach the door, you will have to position the dowels. SmartWOP usually won’t allow placement of single sided connectors, unless you activate “Allow single sided connectors” in the top right corner of the machinings tab.

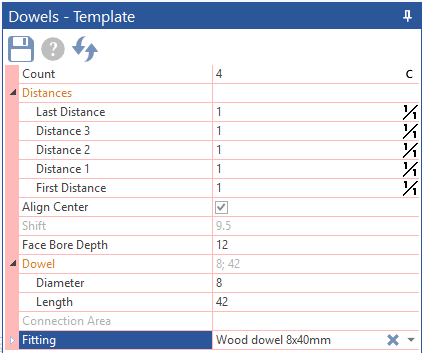
Drag the dowels to the desired edge of the carcass. If necessary, you can also change their parameters in the template.


Now drag the door onto the carcass. The holes for the dowels will be generated on the door automatically.

How to use hinges to create hatches from doors?

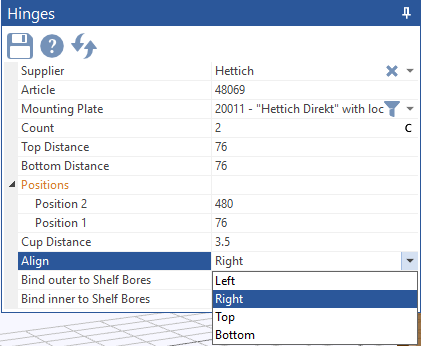
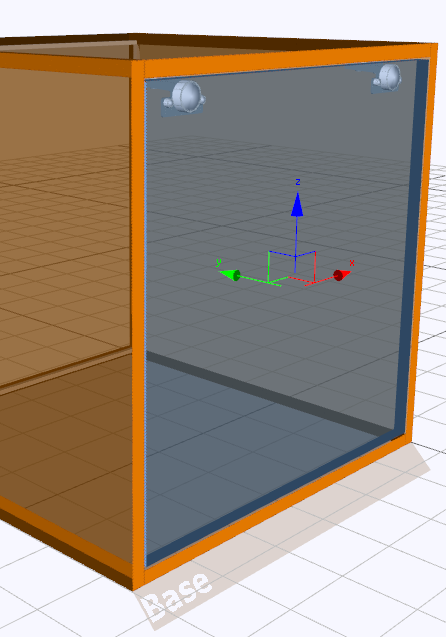
You can use hinges in many ways using SmartWOP. In order to utilize them as a hatch you simply click on the hinges after you have placed them.

Navigate to the “Align” section, select where you want the hinges to sit.

Done!


Back panels, rebated or grooved?

SmartWOP allows for you to decide, whether you want the back panel of your design will be inserted into a groove or into rebates. To change your current design, simply click on the back panel while you are in the Items tab. This will bring up the back panel template.  


Navigate to the Export section of the template and select the method you want to use from the drop down menu.


Options for grooving with the saw:
To set the feed rate manually, check the custom feed rate box and enter the desired rate below.  You can also set a tool number if necessary.

How to add different fittings & connectors to your templates?

Click on the item you want to add/alter in the Machinings tab and make the appropriate changes to the template.

Navigate to the Fitting section and enter the name you wish this item to have, then press Enter on the keyboard.

Click the floppy disk icon to save the changes as a new template under the assigned name.

Now the dowel variant you have just created will show in the dropdown list and is now at your disposal.


How to assign a specific workplace for the CNC machine?

If you want to assign a specific workplace on your CNC machining center as the default place you need to adjust some settings.

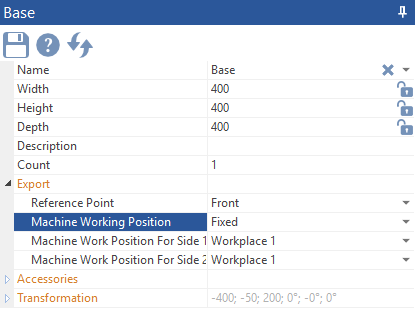
Drag a Base Volume from the Items tab into SmartWOP. Now select it and navigate to the Export section.

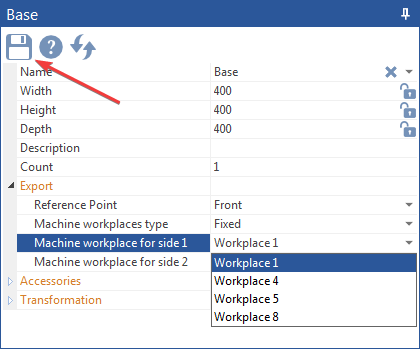
You will find a section called Machine Working Position. The dropdown menu will allow you to select 3 different settings: front, back and fixed.

Now, if you want to work exclusively on workplace 1 of your machine, selct the option “Fixed”
Two more lines will appear enabling you to select the workplace for top and bottom side of a panel.

Make sure to save the changes. This way your preference will be adopted for all following bases, or until you change your selection.