SmartWOP components can significantly reduce construction times. Components allow you to save part or all of your design for use in other projects.
The component design adjusts itself to the volume you drag it into automatically, there is no need to change and adjust sizes.
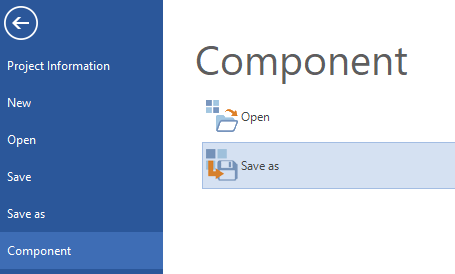
How to create a component
If you have a design you want to use as a component, like for instance this drawer cube.

Go to File>Component>Save as and choose a destination for the file – Not to confuse this with “Save As” without the component category
Now in SmartWOP go to the Gallery tab.
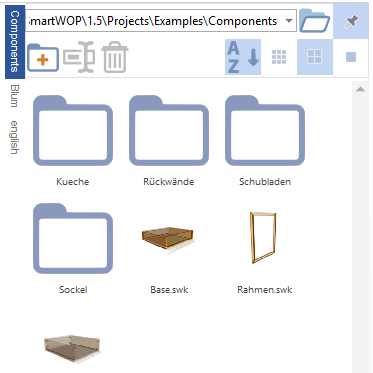
In the top right corner you will find a Folder icon enabling you to Browse for files. Click that and find the destination folder, where you previously saved your component.
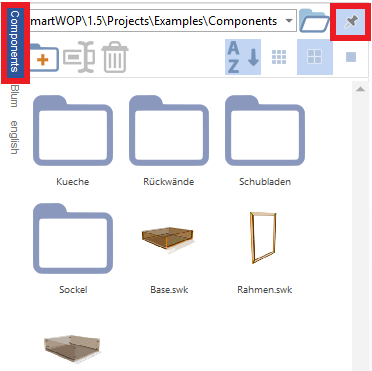
Hit Enter. Now there is a Pin icon right next to the folder icon, clicking there will pin your folder to the sidebar for easier use (see red squares).
Now you have created and saved your component, it is time to use it.
Start a new project and drag a base into the workspace.
For this guide, we will only use seperators and panels to demonstrate the functionality, in reality you will have designed something and the components will be added.
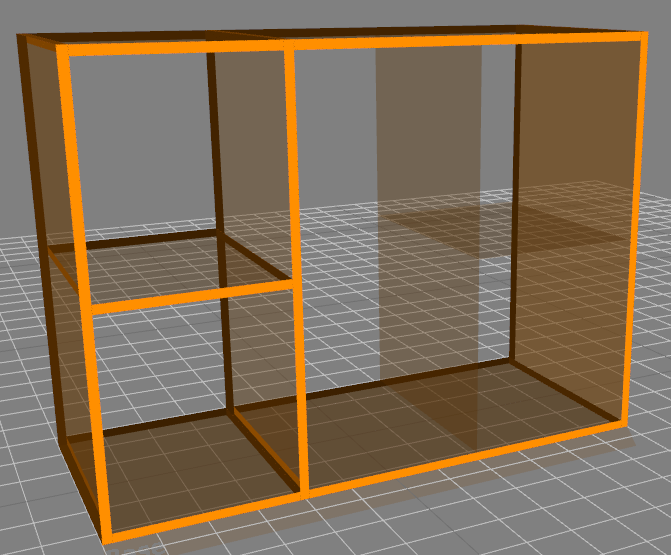
Now go back to the Gallery tab, and drag your drawer cube component into the volume.
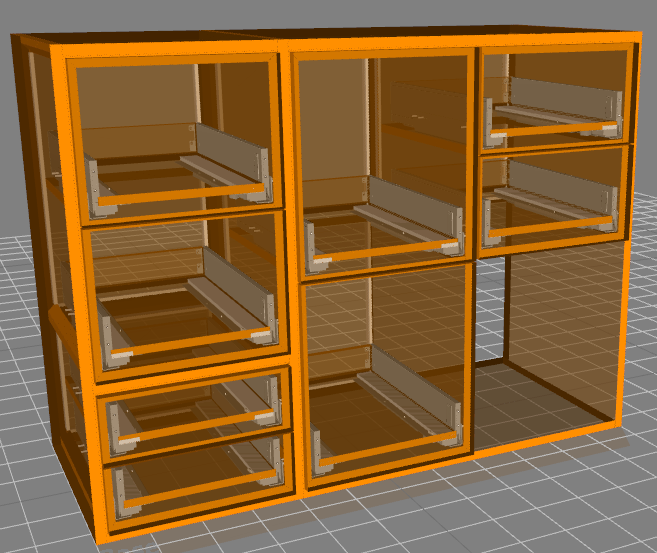
As you can see in the picture above, the drawer cube has adjusted its size automatically to each volume it got dragged into.
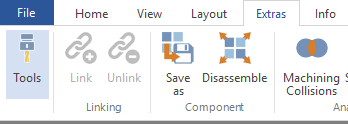
If you need to change something in your component, after you have placed it in the new volume, select the component, go to the Extras tab and click Disassemble
Now you can edit the parts of the component just like you are used to.
Enjoy constructing with SmartWOP!
Stand Juli 18