Follow this guide and learn how to add new Materials to your material library
Navigate to the Materials tab (Hotkey: M) – you will find a small selection already in place.
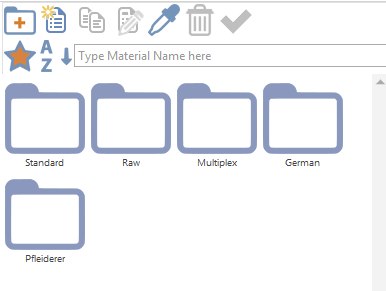
In the top left corner you will find a Folder Icon with an orange plus in it, this will allow you to create a whole folder of new materials while the File Icon next to that will allow you to create a single new material.
You will need a texture file for your new material, or a folder of textures accordingly. The basic procedure is similar in both adding a folder or a single material.
Click on the New Folder Icon

Ignore entering a name at this point and check the box to Automatically create materials from texture folder. Entering a name first is only useful if you want to create categories or folders without any textures in it.
Once you have checked the box, it will change to this view.

Now first let us browse for the textures – find Path to folder with image files: and hit the icon with the three dots. Now find the folder with your textures and select it.
The name has now changed to the name of the folder. If you want a different name, now it is safe to change.
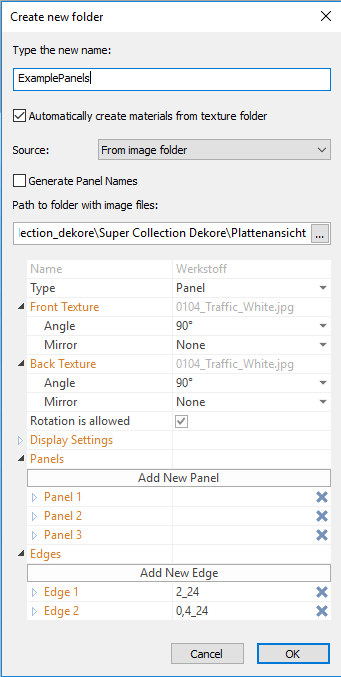
Selecting “Generate Panel Names” will automatically add the panel thickness to the filename e.g. SuperBlue.png would transform to SuperBlue_16, SuperBlue_19 and so on. A good way of keeping an overview.
The following part depends on how you work and what kind of panels you use. This is just one example.
Let us move to Type.
Here you can select what kind of material you are creating.
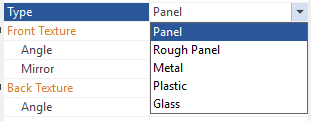
For this example we will use a Panel.
Front Texture is where you can change the angle of the texture. When you create a new materials folder, you will see that the file name is greyed out, this is because SmartWOP will apply the same values to all textures in this folder. Back Texture allows you to change the same settings for the other side of the panel.
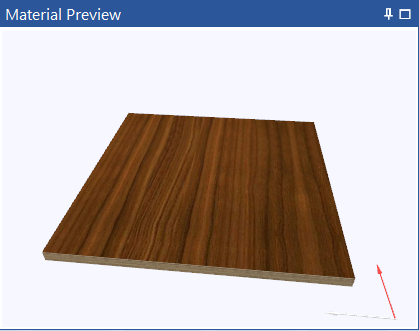
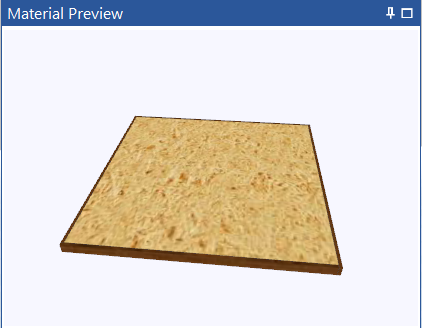
The Material Preview has a Red Arrow pointing in the direction of the wood grain, this is important for all textures that are not solid colors and Rotation is allowed basically means your CNC machine will not care for the grain direction.
Display Settings – this will add gloss and reflection to your panel for the Presentation View. We recommend going with rather low numbers for most types of panels.

Now it is time to create the panels.
Click “Add New Panel”

Unticking the box for Show Back Texture will only show the texture on top of your panels.
Base Solid Material describes what the core of your new panel is made of.
Total Thickness is pretty much self explanatory.
Layer Count is important for your Material Lists. You can then select exactly what each layer is in the Layer section.
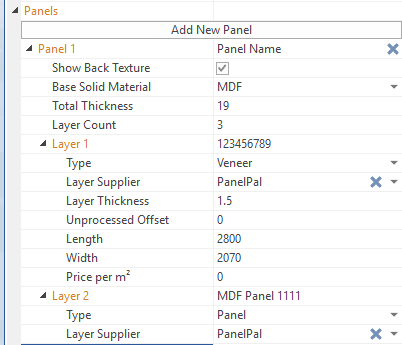
So for this example, the panel is made of 3 layers, the core being MDF and the outer layers are 1.5 mm veneers. Now this is important to keep in mind, the total thickness is 19, and the veneers are 1.5 mm each side meaning the core MDF is 16 mm thick. In this guide, we take a closer look at layers.
If you need more than one thickness of your panel, repeat the above process for each one. Once you are happy with the panels you created, move on to the Edges.
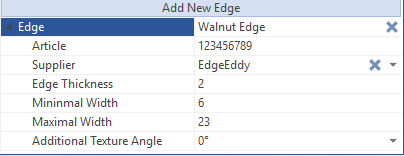
In essence, the process is similar to the panels.
Clicking on any of the edge sections will change the Material Preview to reflect the edge.
You can enter an Article Number and Supplier if you want, it is not mandatory. Edge Thickness is important for formatting your panels. A wrong number could result in your panels being too small.
Instead of a fixed size, edges are entered with a range determined by Minimal and Maximal Width.
Additional Texture Angle allows you to rotate the texture for the edges.
Once you are happy with the panels and edges, click on ok.
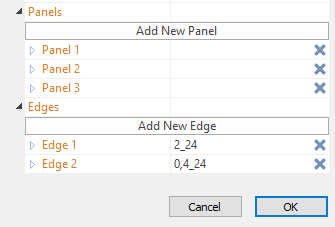
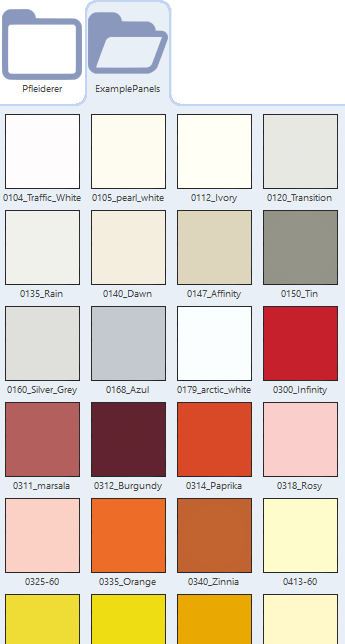
SmartWOP will display a progress bar indicating the creation of materials from your folder, as soon as that is done, you will find the new materials folder and its contents in the Materials tab.
Enjoy construction with SmartWOP!