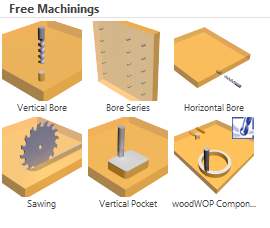
To use a woodWOP component in your SmartWOP project navigate to the Machinings tab. Click on woodWOP Component in the Free Machinings section.
Now the properties window for this special machining type opens.
By default the file is named external.mpr this comes preinstalled with SmartWOP and is ready to be used and edited. To create a new woodWOP component, change the file name or select an existing woodWOP component using the icon with the three dots to browse your computer.
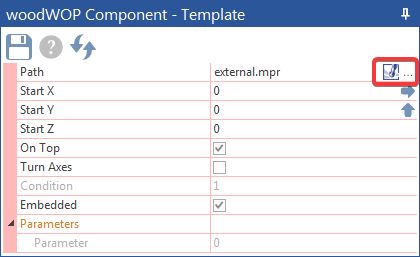
Clicking on the woodWOP icon starts woodWOP. You can only edit components in woodWOP if you have previously unchecked the “Embedded” option.
In woodWOP you can now edit the component to fit your needs and save. The use of variables within the component is highly recommended.
Close woodWOP and return to SmartWOP.
Note: The file is saved in the woodWOP default folder for components. Usually this would be the folder “ML4” within the woodWOP directory.
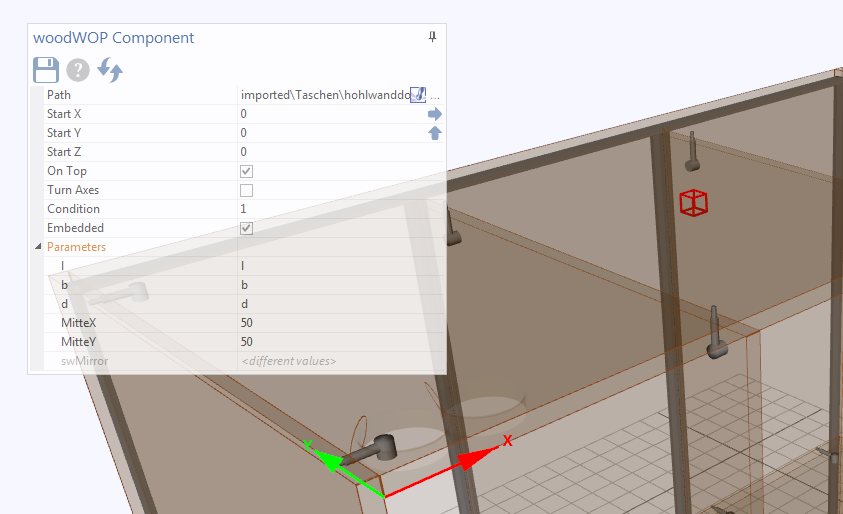
You can now drag the machining type woodWOP component onto a part of your design.
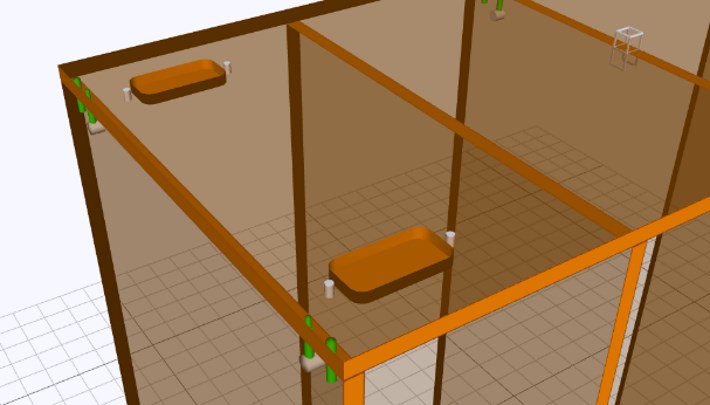
Your component is represented with a wireframe cube, clicking on it will open the preferences.
You can access and edit the parameters you implemented in woodWOP in the Parameters section.
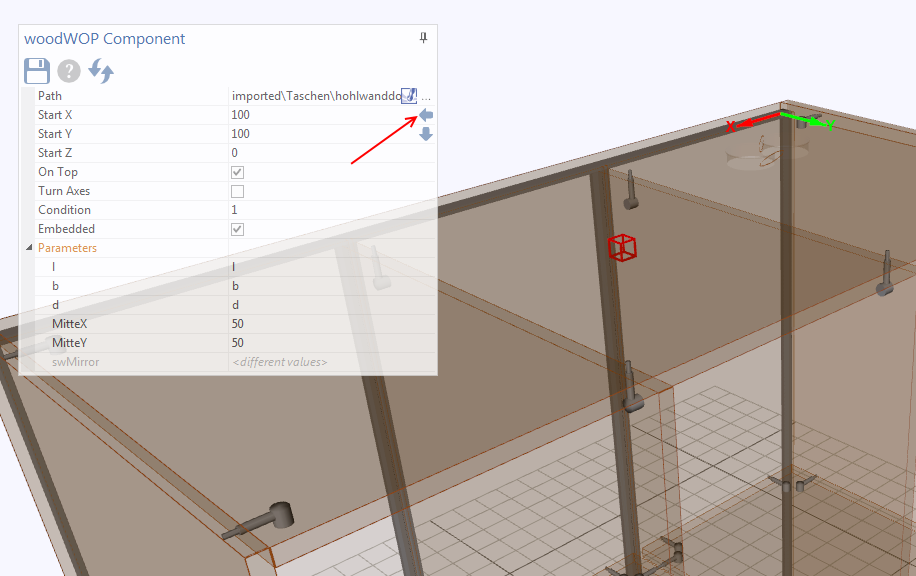
The arrows can be used to swap to different reference points. Note the axis indicators in red and green to help.
You can now also decide to embed the component in the file and set conditions from woodWOP.